Many years ago when I began bowhunting on my own, I immersed myself in learning more about the game I pursued. The goal of arrowing an unsuspecting buck at 20 paces was lofty for sure. Knowing that deer normally travel on trail networks throughout their range, I would often smooth out muddy spots along game trails in order to see when an animal had passed. I’d check these spots for tracks periodically and note the direction of travel, relative timeframe (if known), and I’d study the prints in attempt to assess the size/sex of the animal. Based on my scouting data I’d hang stands or construct ground blinds accordingly. It worked and I enjoyed some success as a result.
 |
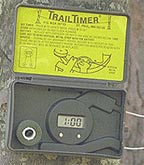
| The original string Trail Timer. |
Later, in the early 90’s I used small single-event string timers to help determine when and where game animals traveled. These string timers are still available today. They are light, small, simple to set up, and best of all, inexpensive. Although these simple devices are handy they leave much to the imagination. Was it a bear, deer or coyote? A buck or doe – who knows?
Today I still practice my simple mud-smoothing tactic but I’ve transitioned from the simple string timers to modern-day trail cameras to provide rich detailed data.
In recent years the market has been flooded with a variety of commercially manufactured trail cameras aimed specifically for hunting purposes. I’m not going to get into a buyer’s guide here because that would be a huge undertaking. Instead, I will share some information, tips, and considerations gained over the past several years while deploying several trail cameras year-round.
Choosing the Right Camera
Often you hear the word “addicting” associated with trail cameras, and for good reason. With each new set-up the waiting and anticipation can be maddening, especially when you’ve set up on a hot wallow, churned up trail, or a tucked away feed area. It’s exciting and for many hunters it’s a way to keep your head in the game all year long.
But before you run out and buy a trail or game camera, as they are commonly called, you need to decide what your budget is and what level of performance you’re after. For example, do you want five inexpensive cameras out there capturing low-resolution photos of game simply to inform your hunting strategies or do you want one camera that shoots high-resolution photos and video with exquisite clarity and detail? Do you have $100 or $500 to spend? Infrared or white flash? Answering these questions ahead of time will help you narrow the field of choices.
A great resource in researching the variety of makes and models is provided by Trailcampro.com. See the
2009 Trailcam Shootout. Trailcampro.com has tested a selection of cameras every year since 2006 for performance metrics of image quality, trigger speed, motion sensor detection, and other notable features. You can view the results for all previous years as well. It’s worth your time to review their data before purchasing any trail camera, new or used.
As I mentioned above, I am not going to explore the myriad of commercial offerings here. I will say there are many great units available covering a wide range of price and performance preferences. Several companies offer systems that send photos directly to your cell phone as they are captured in the woods, such as the SmartScouter™ Cellular Surveillance System. Talk about instant gratification!


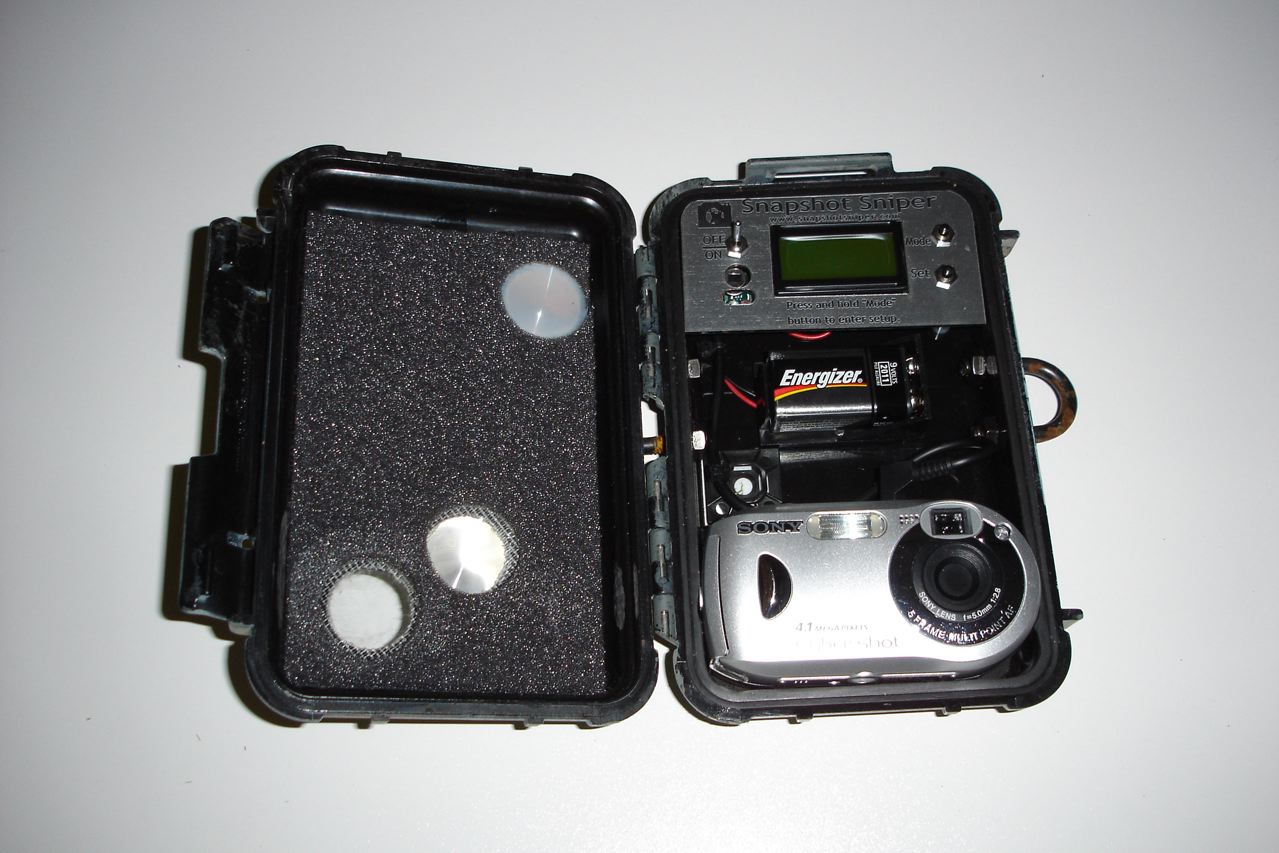
In recent years there has been a surge in the number of people who are opting to get more involved in trail camera design by building their own custom solutions. These home-made units are commonly called “Homebrew” trailcams and in my opinion, they are second to none in terms of cost, system quality, field performance, and image quality. Not to mention the personal satisfaction of creating your own custom camera rig. I purchased two used homebrew cams from experienced builders before I dove in headfirst to build one. It turned out better than I expected so I am building an exact copy of the first. In addition to these I have commercially manufactured cameras as well. I use them all but save my homebrew cams for special and/or very secure places.
There are dozens of web sites dedicated to the design and construction of homebrew trail cameras, and several sites offering turn-key circuit boards, controller boards, and other specialized components ready for you to assemble. Most require that you purchase a digital camera but they do provide schematics and instructions on performing the wiring modifications needed for each camera supported by their circuit boards.
In short, if you are mechanically inclined and have a steady hand to perform minimal intricate soldering, you can build a high-quality 8.0 MP trail camera for around $150. If you’re interested to learn more or take on a new project, here are a few notable sites worth checking out:
 |
|
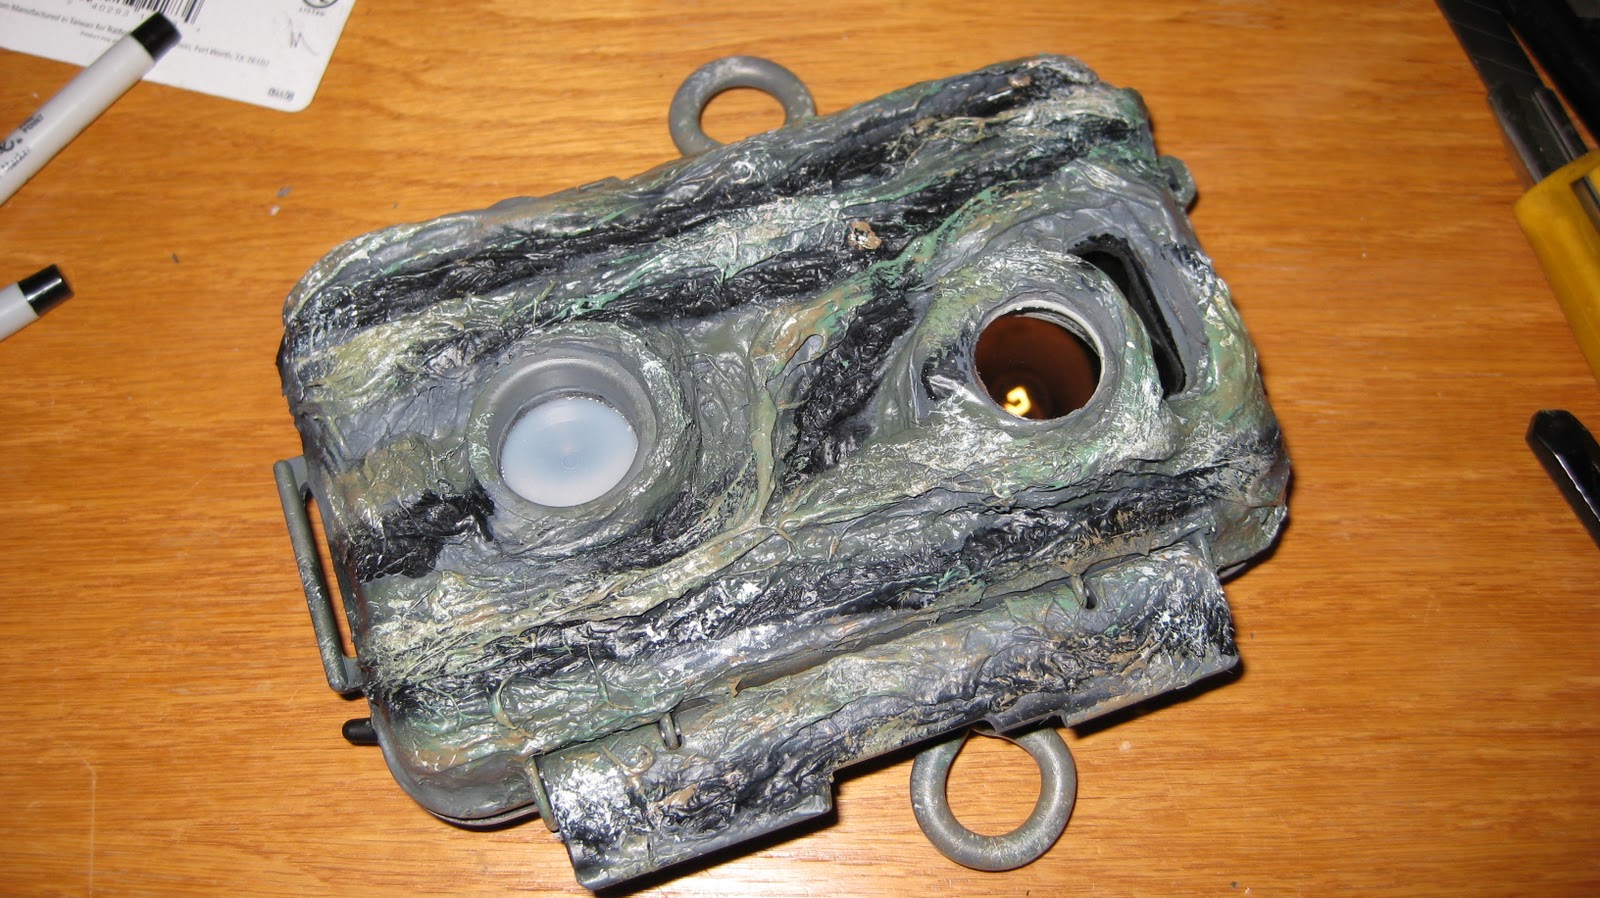
My Sony W80 Homebrew. I used Bondoglass to create a heavy 3D texture and
painted it to match the bark of mature Douglas Fir trees.
|
Many people claim that the br
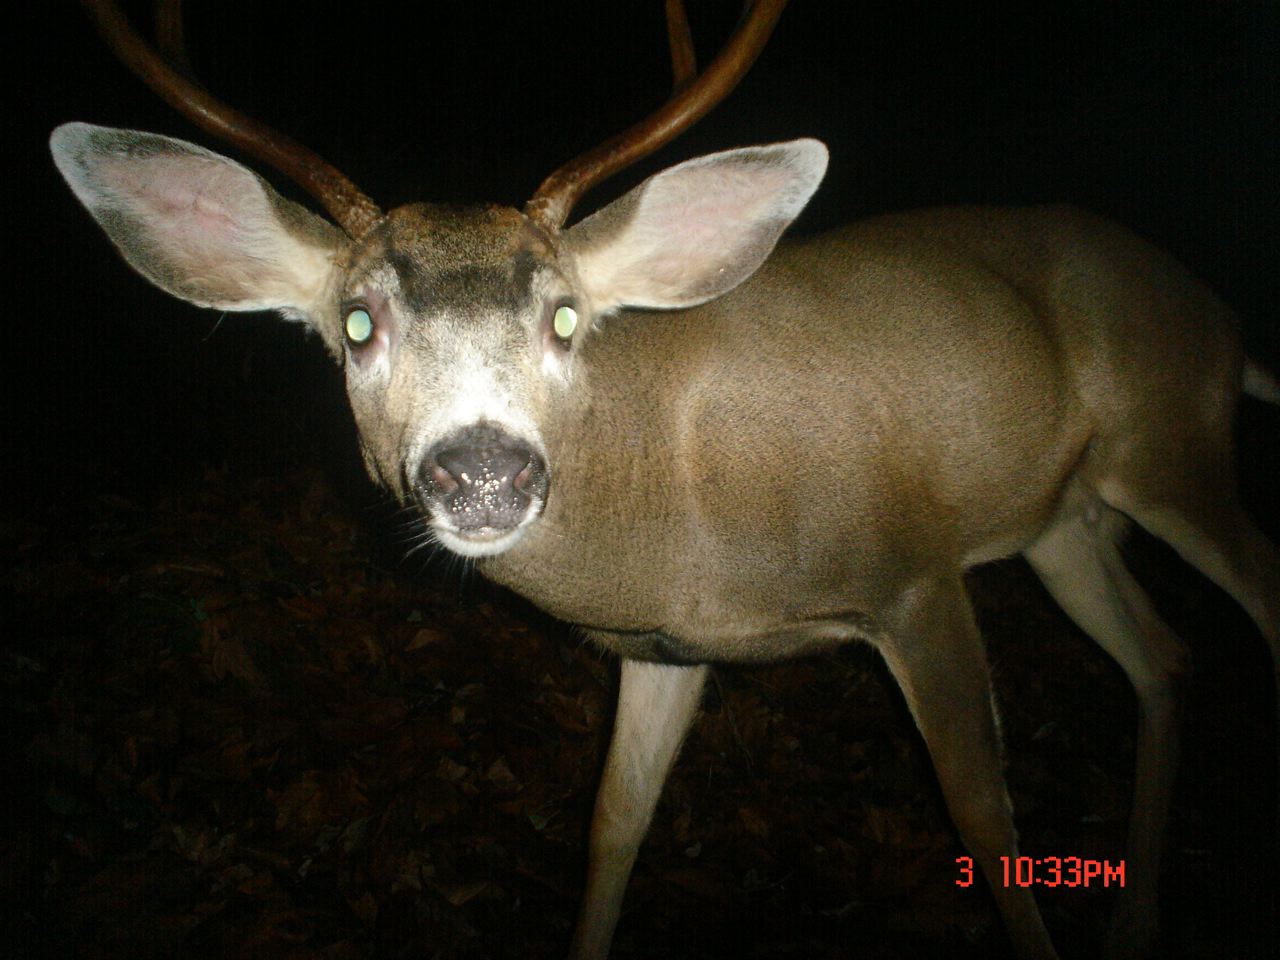
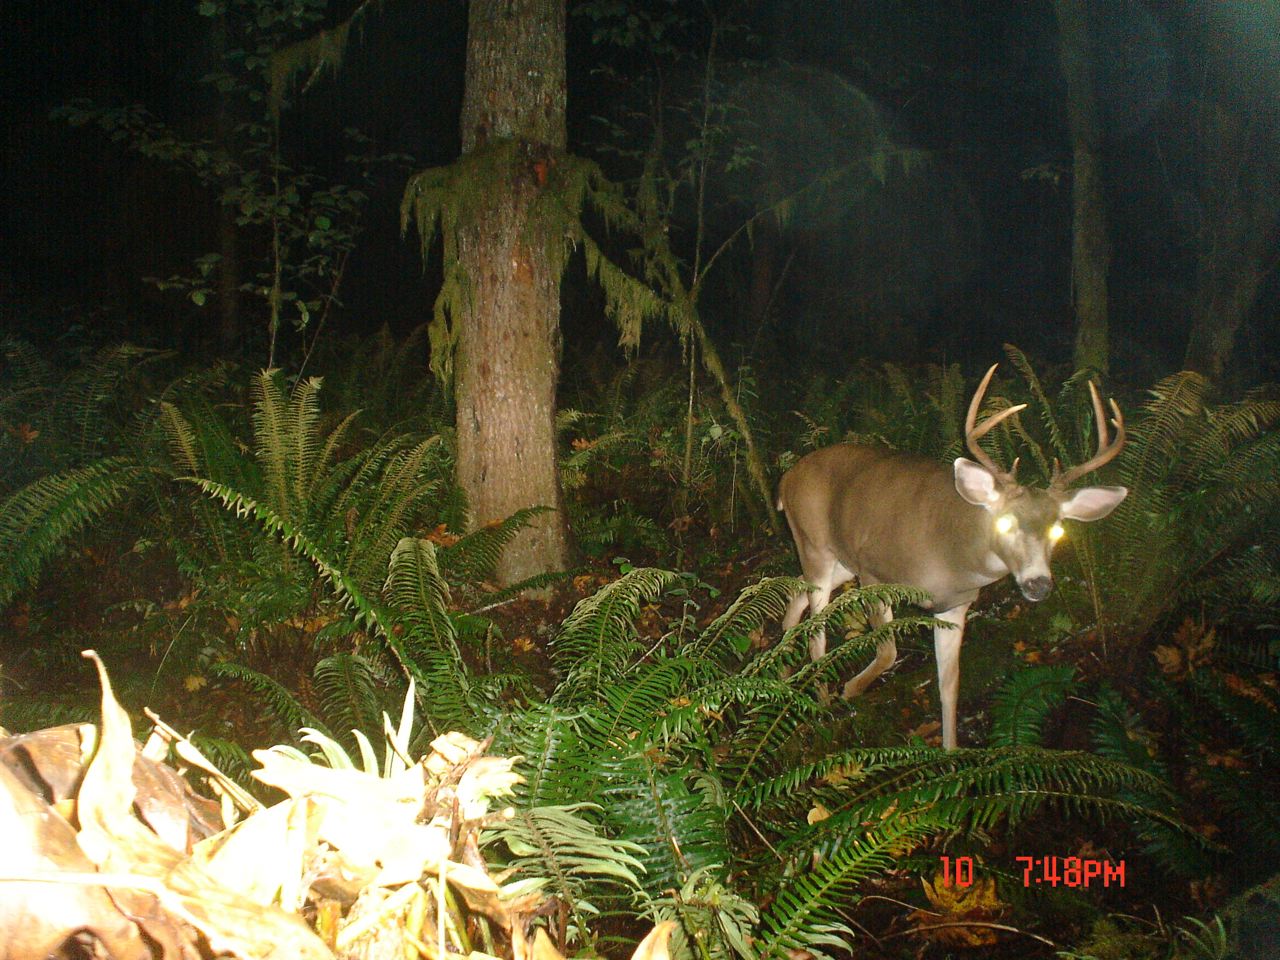
ight white flash from a trailcam is enough to run a reclusive buck out of the area. So, they opt for an infrared (IR) unit instead. I have used both extensively and can say with 100% certainty based on my experience that the white flash has little to no effect on deer behavior, or any animal for that matter. I have discussed this topic with many veteran trailcam fanatics and they all report the same conclusion. When choosing a camera, rest assured that you can light up the eyeballs on a Booner buck repeatedly without worry of spooking him. Deer and elk rely largely on their sense of smell to determine danger, so while the bright flash may be annoying, it’s not viewed as a threat to their safety. I have thousands of photos of bears, deer, and elk at point blank range to back up my claim.
Setting Up Your Trail Camera in the Field
Heading out into the woods with your trailcam is always fun and filled with anticipation. But before you hastily strap your camera to a tree and walk away, there are some key considerations to address.
 |
|
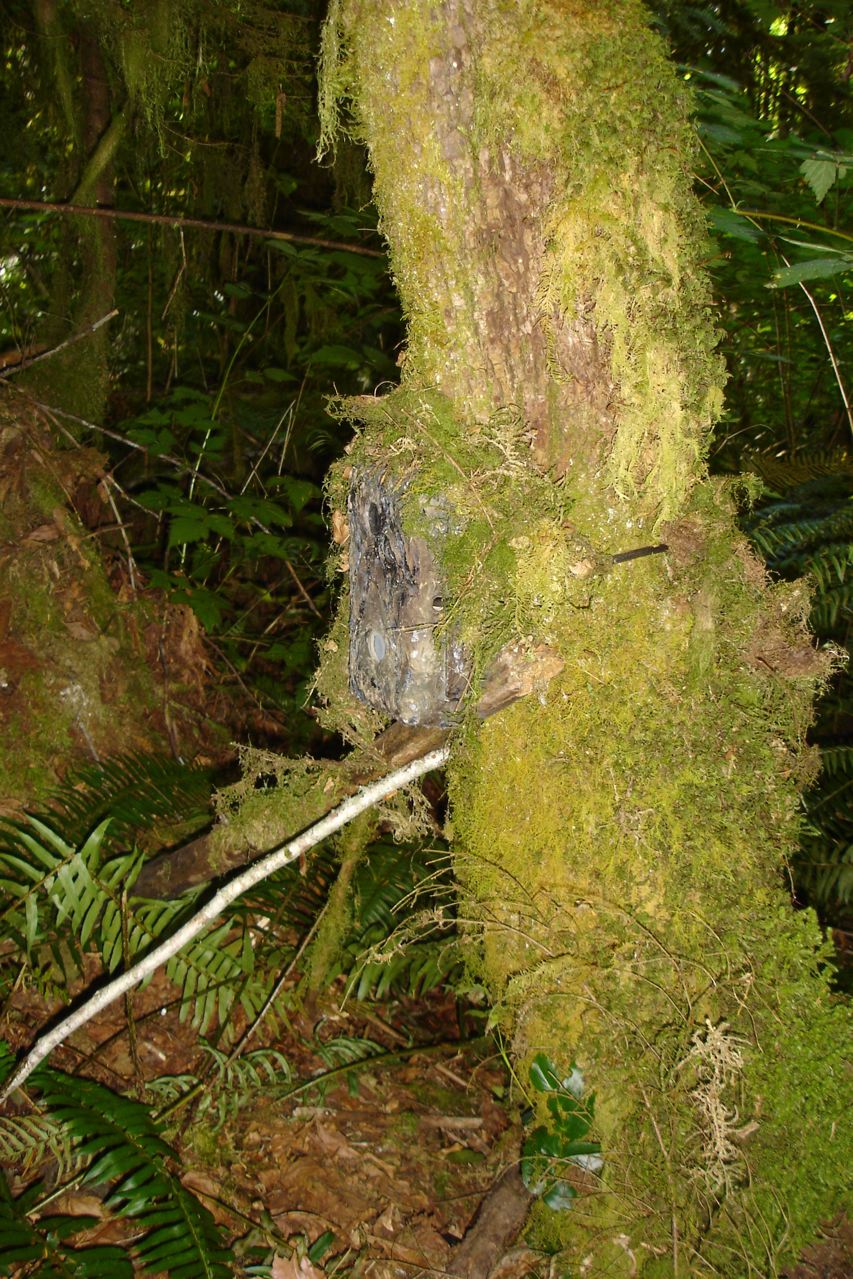
My IR homebrew “mossed in” and ready
for action. Notice a piece of moss fell
and exposed my Python cable lock.
|
 |
|
I chose this lumpy maple to disguise
my camera. Unless you are looking
for it, it blends in pretty well.
|
Security – The first and most important factor in where you set up is security. Never assume “nobody will go into this hole” because they will, and they do. And it’s quite possible that the next time you return to check your camera, it will be gone. It happens every day, and when it happened to me – on private land no less – I was ‘road-rage’ angry. My homebrew IR camera was full of bull elk photos because I didn’t swap the memory card during the previous check. Not only did I lose my camera but I was robbed of all my scouting effort which was much more valuable than the replacement cost of the trail camera itself.
I can’t stress enough the importance of hiding your cameras well and avoiding easy view or physically access locations. They will be found and stolen. It’s sad, but it’s a fact you need to deal with.
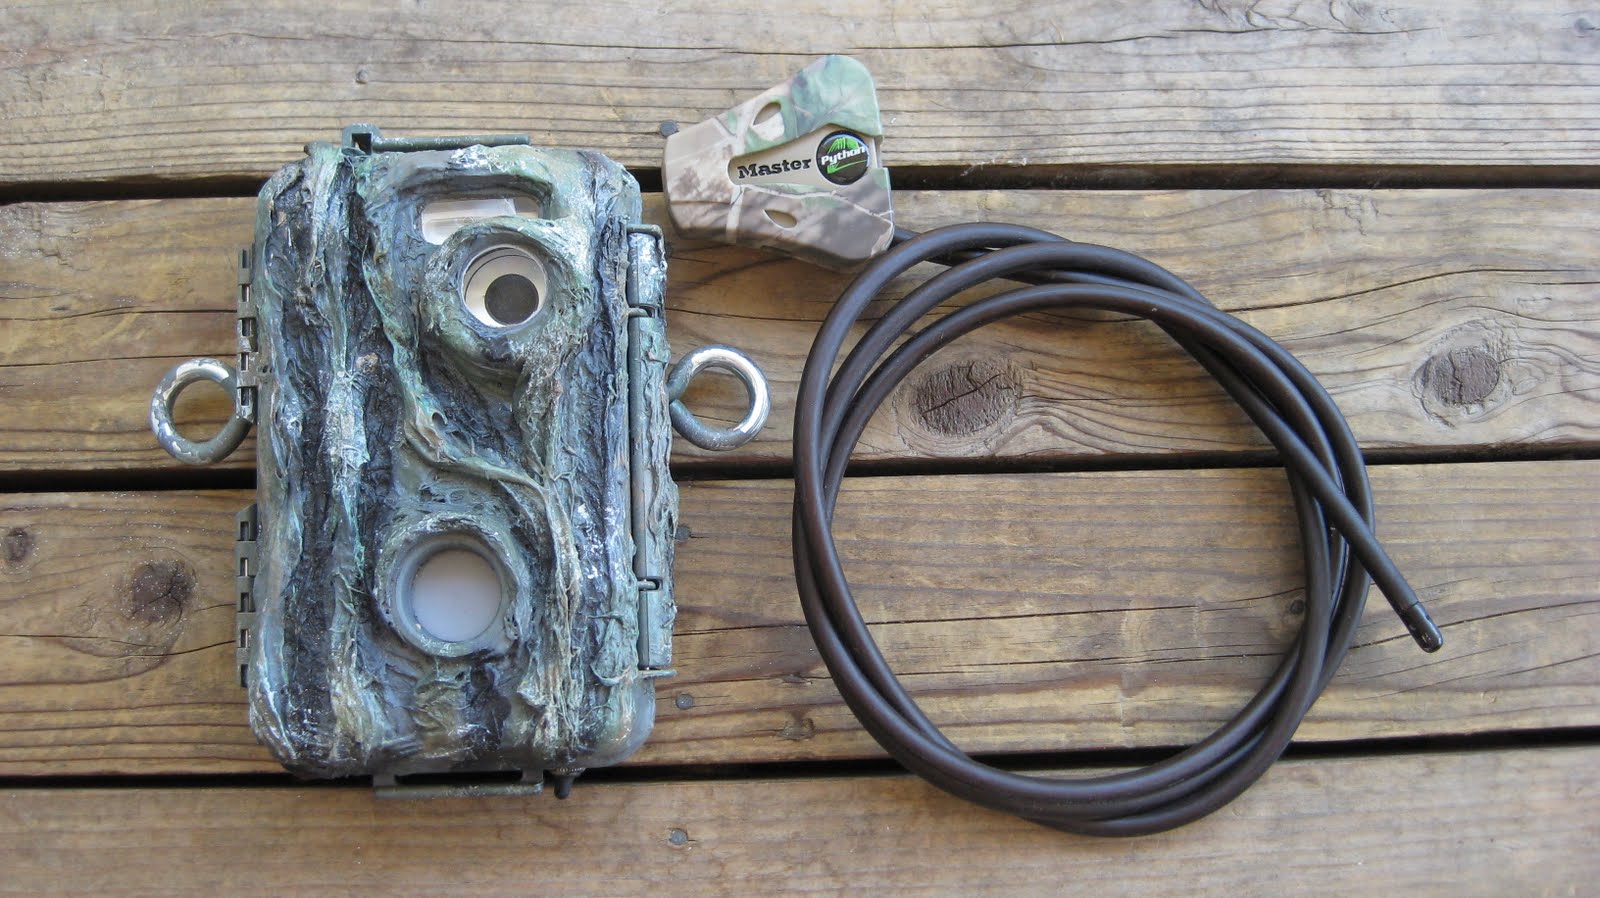
I always secure my cameras to trees with Master Python locks because they are simple to use and difficult to cut. I hang my cameras on large diameter trees only and cover with them moss or other vegetation to hide them well. There are after-market lock-boxes out there but most are made of thin-gauge sheetmetal that aren’t worth a hoot, in my opinion. I know a guy who is building some nice heavy-duty boxes for the Moultrie D40 and Game Spy 5.0 models. For around $50, they are a great buy.
The Sun – Bright sunlight can cause false triggers and fill up memory cards with white over-exposed photos. It’s a real let-down after a three week soak in the woods to discover a card full of white photos.
When choosing a tree to hang my camera I always look up to evaluate the sun’s trajectory across the sky and aim my camera north to northeast with plenty of shade trees around. Regardless of the time of year, you need to avoid prolonged periods of direct sunlight on your trail camera. If you do this, you’ll never get false triggers from the sun.
Weather – Extreme cold or heat can cause performance issues with some trail cameras. I have had my homebrews (Sony cameras) out in 15-30 degree weather for weeks and never experienced a performance issue. My commercial models don’t perform as well. My guess is the camera unit itself isn’t as high-quality as the Sony consumer-grade cameras I have in my homebrews.
So be aware of the weather forecast and decide if you want your camera to tough it out or take a break until milder weather returns. I’ve never had an issue with rain with any of my cameras. The homebrews are built inside Pelican waterproof cases, and they are very dependable if you do your part to seal the modifications well.
 |
|
Positioning your camer at 30-45 degrees off trails you’re sure give
your camera time to power and get the shot, even on fast-moving
animals.
|
Positioning – I try to hang my cameras between three and four feet from the ground and roughly 10’ from where I expect the camera to be triggered by an animal. I look closely at the angle of the camera as it’s cinched up against the tree trunk and shim it as needed with small sticks to ensure it’s aimed correctly. I also set up at 30-45 degree angle from the trail so the motion sensor picks up movement in time for the camera to snap the photo. My homebrew cameras have exceptional timing but I’ve found that setting up 90 degrees to a trail often results in tail or rump photos unless you set up further away. By setting up at an angle, you increase your odds for some great full frame photos.
Settings – Most all cameras have settings for multiple shots, delays, video or still photos, etc. Again, it all depends on what you want with your set up. If you’re set up on a feed area and you can’t check your camera for a full month or more, you’re better off setting your camera on a 3-5 minute delay so you don’t fill up your memory card with the same doe and fawns feeding along. However, if you are able to check your cameras weekly or even bi-weekly, you can be more liberal in your settings provided you have a large memory card. I typically use 512MB or 1GB in my 3.2 MP homebrew, 2GB in my 4.0MP cameras, and a 4GB in my 8.0 MP camera. With the cost of flash memory on the steady decline, you can pick up memory cards pretty inexpensively. I often buy from
Surplus Computers and have found their prices to be exceptionally low. Their customer service is great too.
 |
|
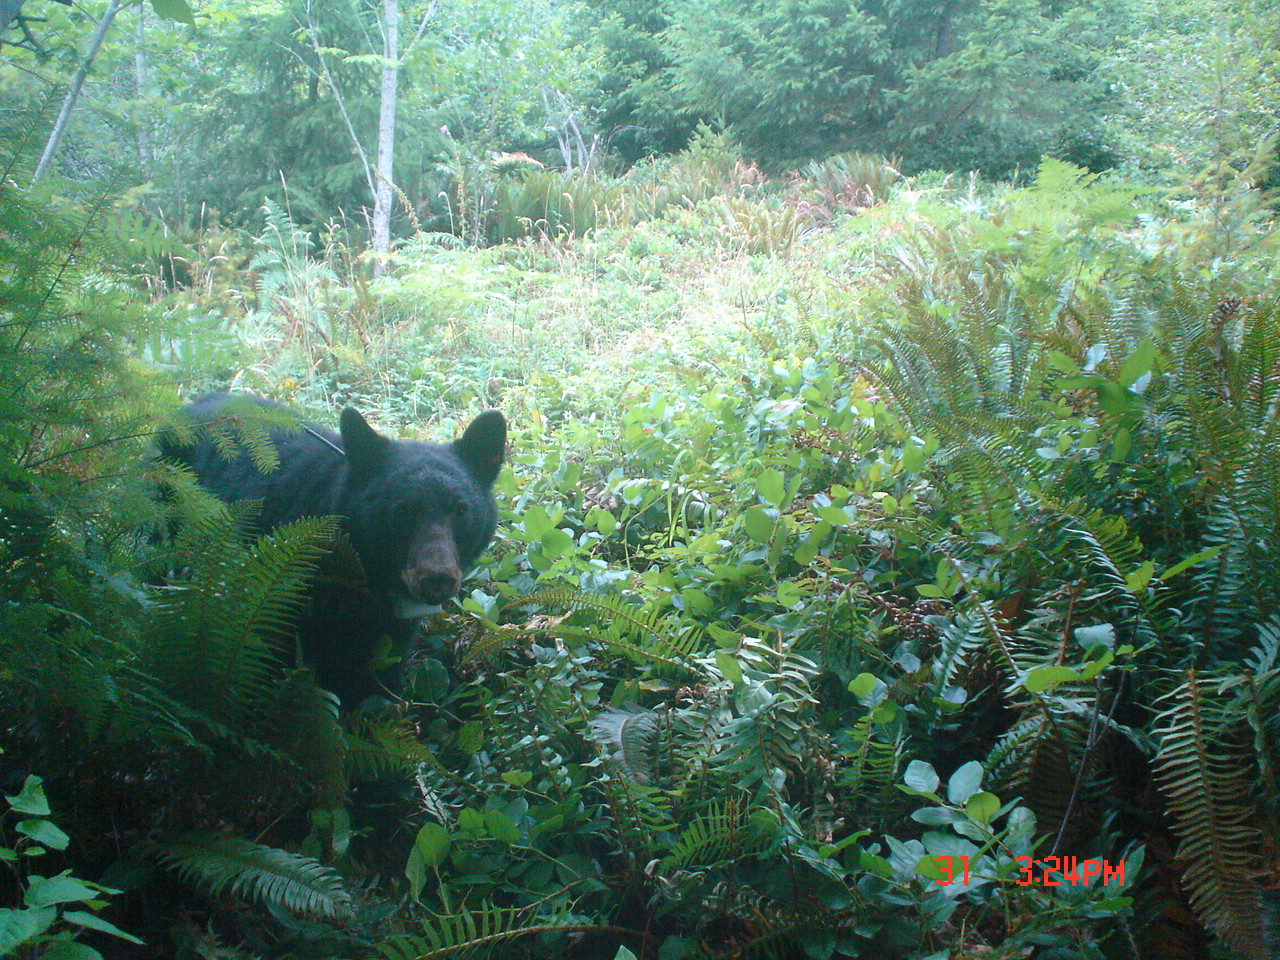
Bears are very curious and can wreak havoc on your camearas
if they see them or smell them. Latex or Nitrile gloves are good
insurance against bear damage.
|
Bears – Yes, bears. A flash from a camera or the sound of a shutter is all it takes to divert a passing bear toward your camera. And bears love to taste-test things with the curiosity of a crow pecking at a shiny coin on the street. Bears can and will destroy your camera if it is not secure and scent free. Even at that, they will often give it a go. I ALWAYS wear Nitrile gloves (from Costco) since a bear nearly ate one of my cameras. The scent of lunch on my hands from earlier that day was a rookie mistake on my part. Since wearing gloves and keeping my cameras scent free, I’ve never had another issue with bears trying to eat my cameras.
 |
|
My camera survived this mauling, but not without a heavy coating
of bear slobber and teeth marks.
|
GPS – It might seem trivial at the time to log the specific location of your set up, but it’s very important. I once lost a camera that I placed in a fairly familiar location. I got busy with work and before I knew it two weeks went by, then three, then four. It was springtime and by the time I got out to check it, the ferns had grown up 3 feet or more not to mention the surrounding vegetation. Everthing looked the same. I looked for that camera for another five weeks before I found it! Had I logged a GPS location at the time I set it up, I’d have had no issues finding it.
Storage (HDD) Considerations
Each and every time I return from checking my trail cameras, I enter the house with child-like excitement. I can’t wait to download my photos and sort through them. The problem came quickly because I was doing this all year long with multiple cameras. In short order I amassed over 10,000 photos which put a pretty sizable dent in my Mac’s HDD. If you’re going to get serious about this trailcam business, you may want to invest in a large capacity USB mobile HDD to store all your photos. This will keep your home PC free from the heavy storage burden of your new outdoor addiction.
On a related note, it may be difficult at first but keep only those photos that are good quality and meaningful. 87 photos of a doe feeding don’t really do you much good and only serve to fill up your hard drive. Keep a couple of the best photos and delete the rest. Trust me, over time you’ll be glad you did.
When you download your photos, create a logical label for them so you can go back and find what you’re looking for. For example, my labeling scheme is: CAMERA NAME/TYPE, LOCATION, DATE RANGE. For example: Sony P41 Homebrew – Upper Ridge – 3-10 to 4-1-10. This has proven to be a good method because I can quickly can and scan and sort all my photos.
Summer is upon us and the fall hunting seasons are fast-approaching. If you haven’t taken part in the use of trail cameras to augment your summer scouting, you might want to give it a try. It’s a fun family activity and a great way to see what’s on the menu this year.
Good luck!
Here are a few sample images from my ever-growing collection of trail camera photos:
 |
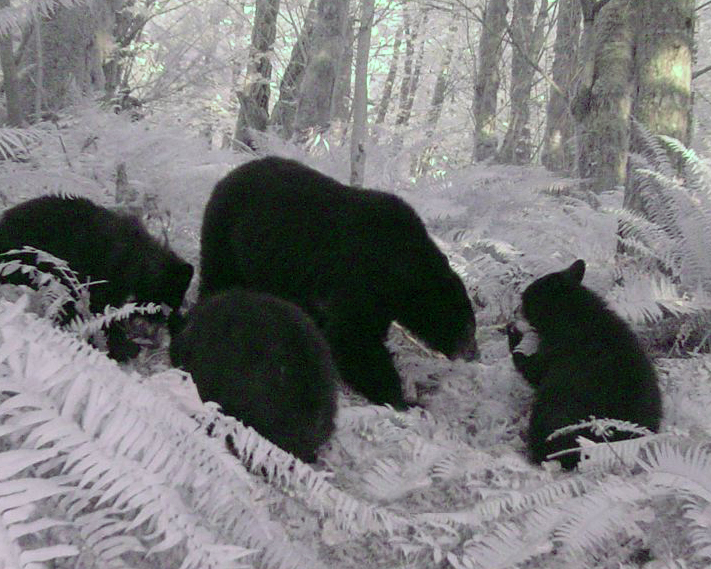
| This sow and her three cubs was a welcome surprise on my IR cam. I got a couple dozen photos of them in the ferns. |
 |
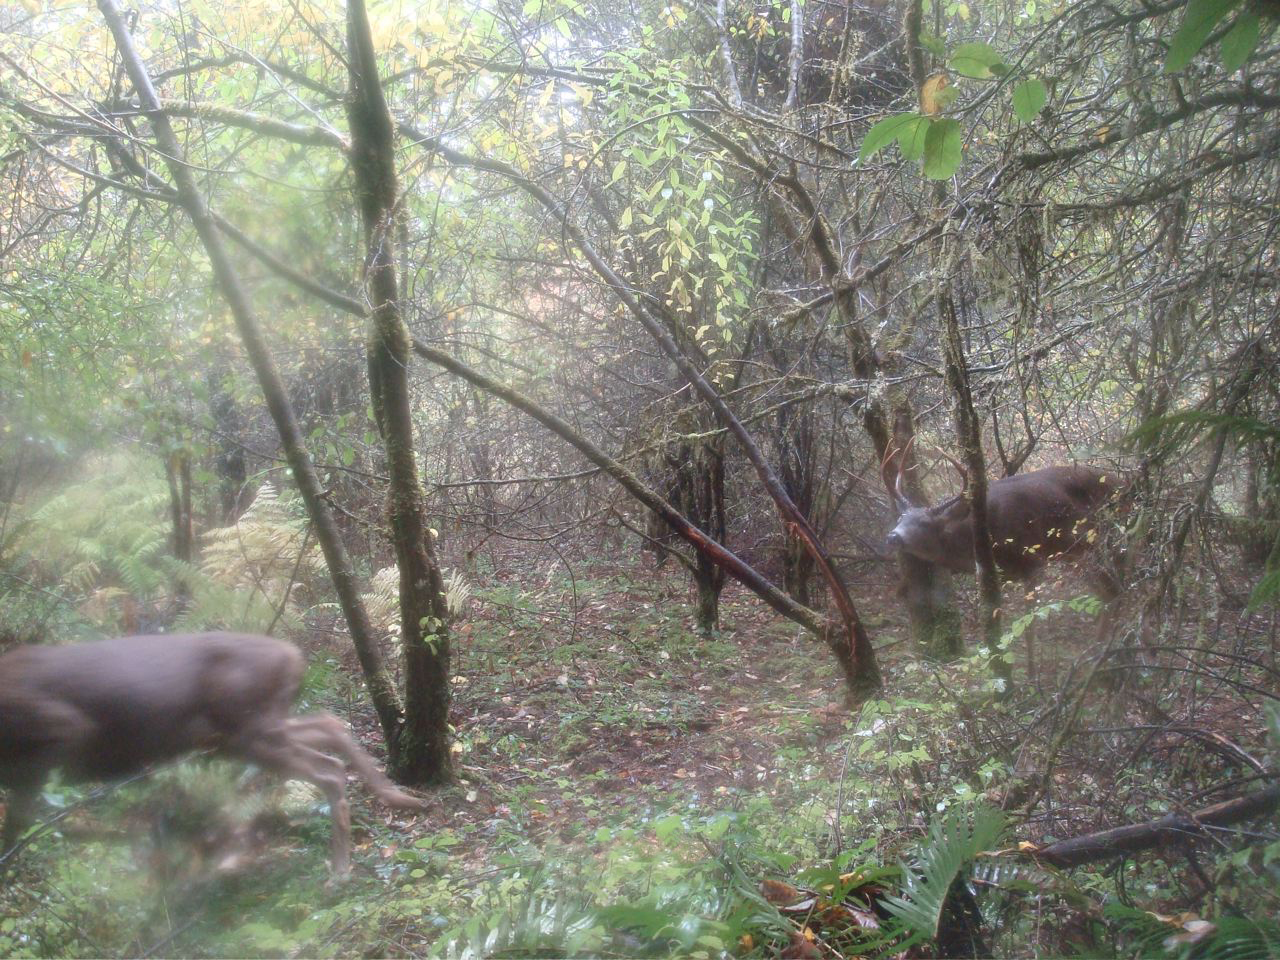
| The scrappy 2×3 on the left made the rubs in the background. I have a 30+ photo sequence of him in action. |
 |
| I really wanted to tag this buck last fall but after my buck ran him off I never had the chance. |
.JPG) |
| This is the first and only bat I’ve captured with trail camera. |
 |
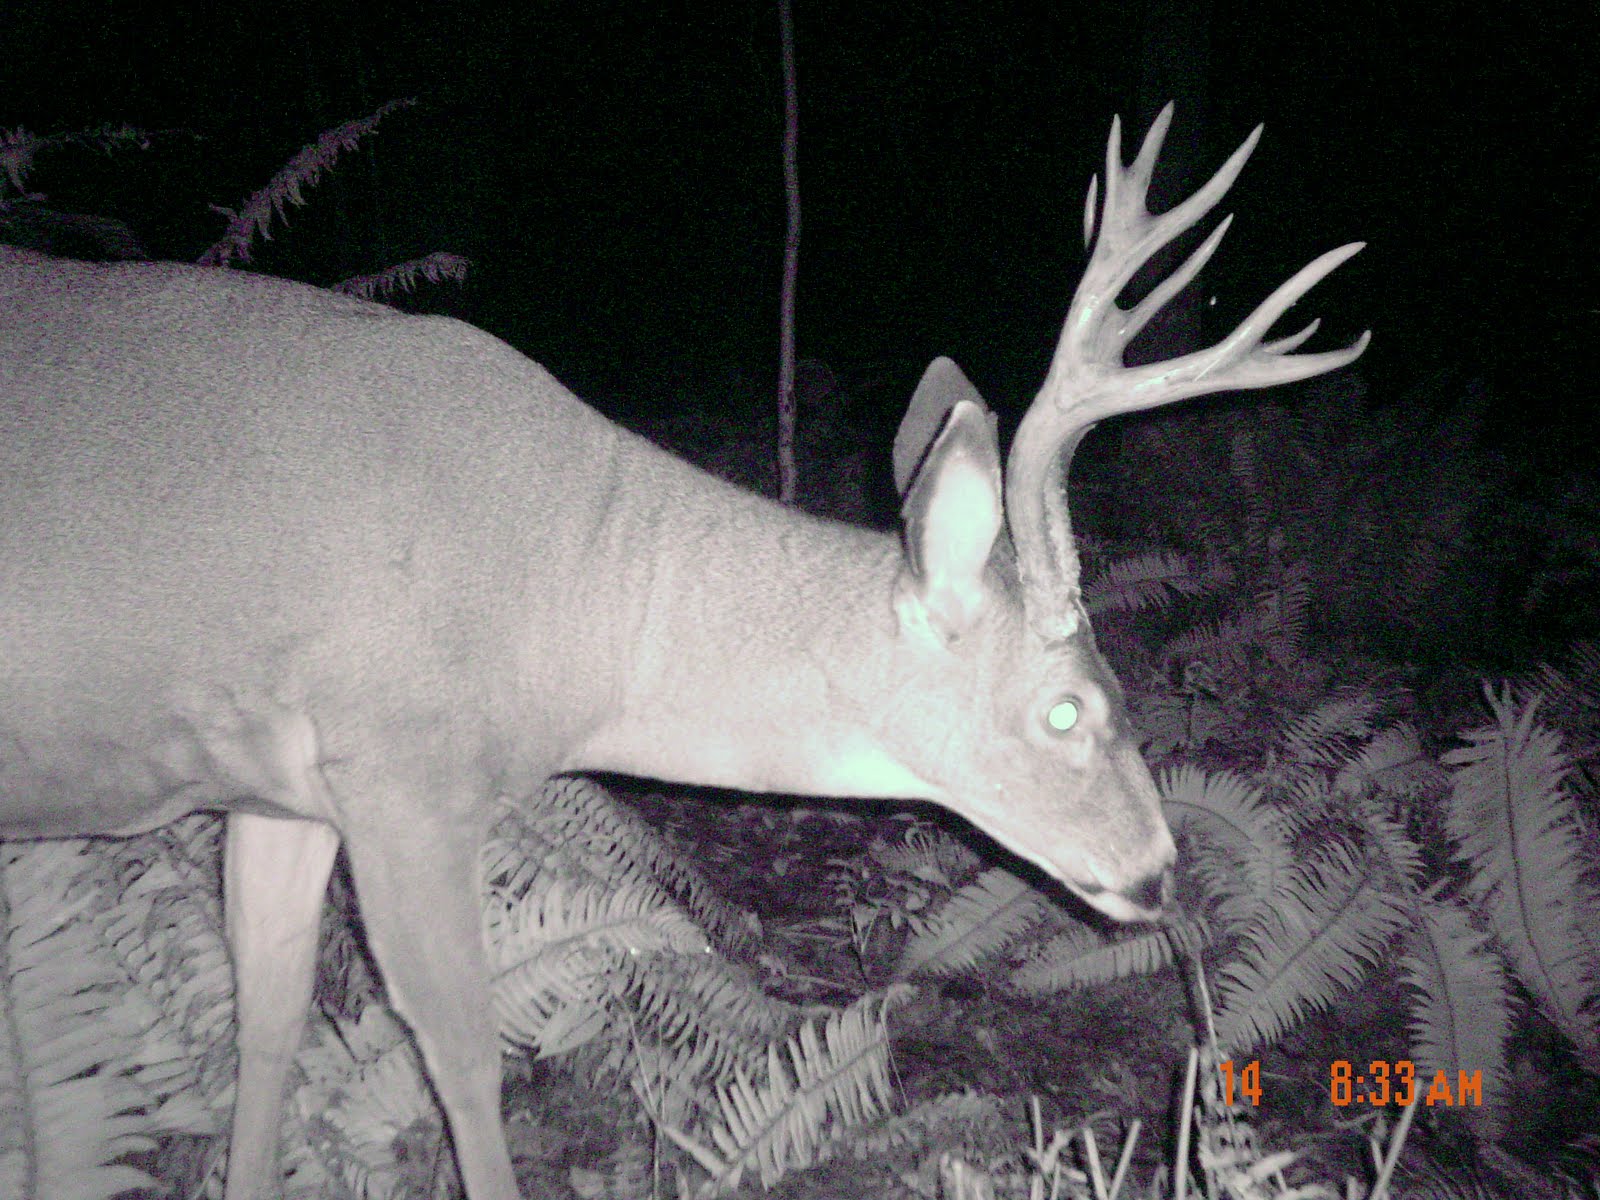
| My 2009 buck just before he shed his velvet. |
 |
|
My 2009 buck just after he shed his velvet. He consistently used a trail I’d cut through the ferns to avoid spreading my scent all over. Once he showed up on MY trail, I cut another one to stay off his chosen route. I had two stands set up for him on that ridge but I unexpectedly crossed paths with him while still-hunting a thicket just over a mile away.
|
 |
|
This buck was holed up with this doe for days and I was lucky enough to get this rut action shot from my Sony W80 Homebrew cam.
|
 |
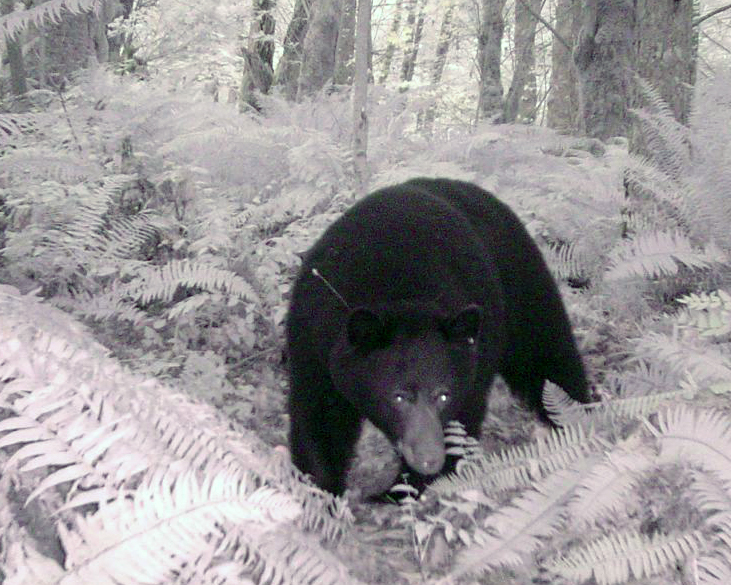
| Moments after this photo was taken, my camera got a mouth massage from this bear. |
 |
|
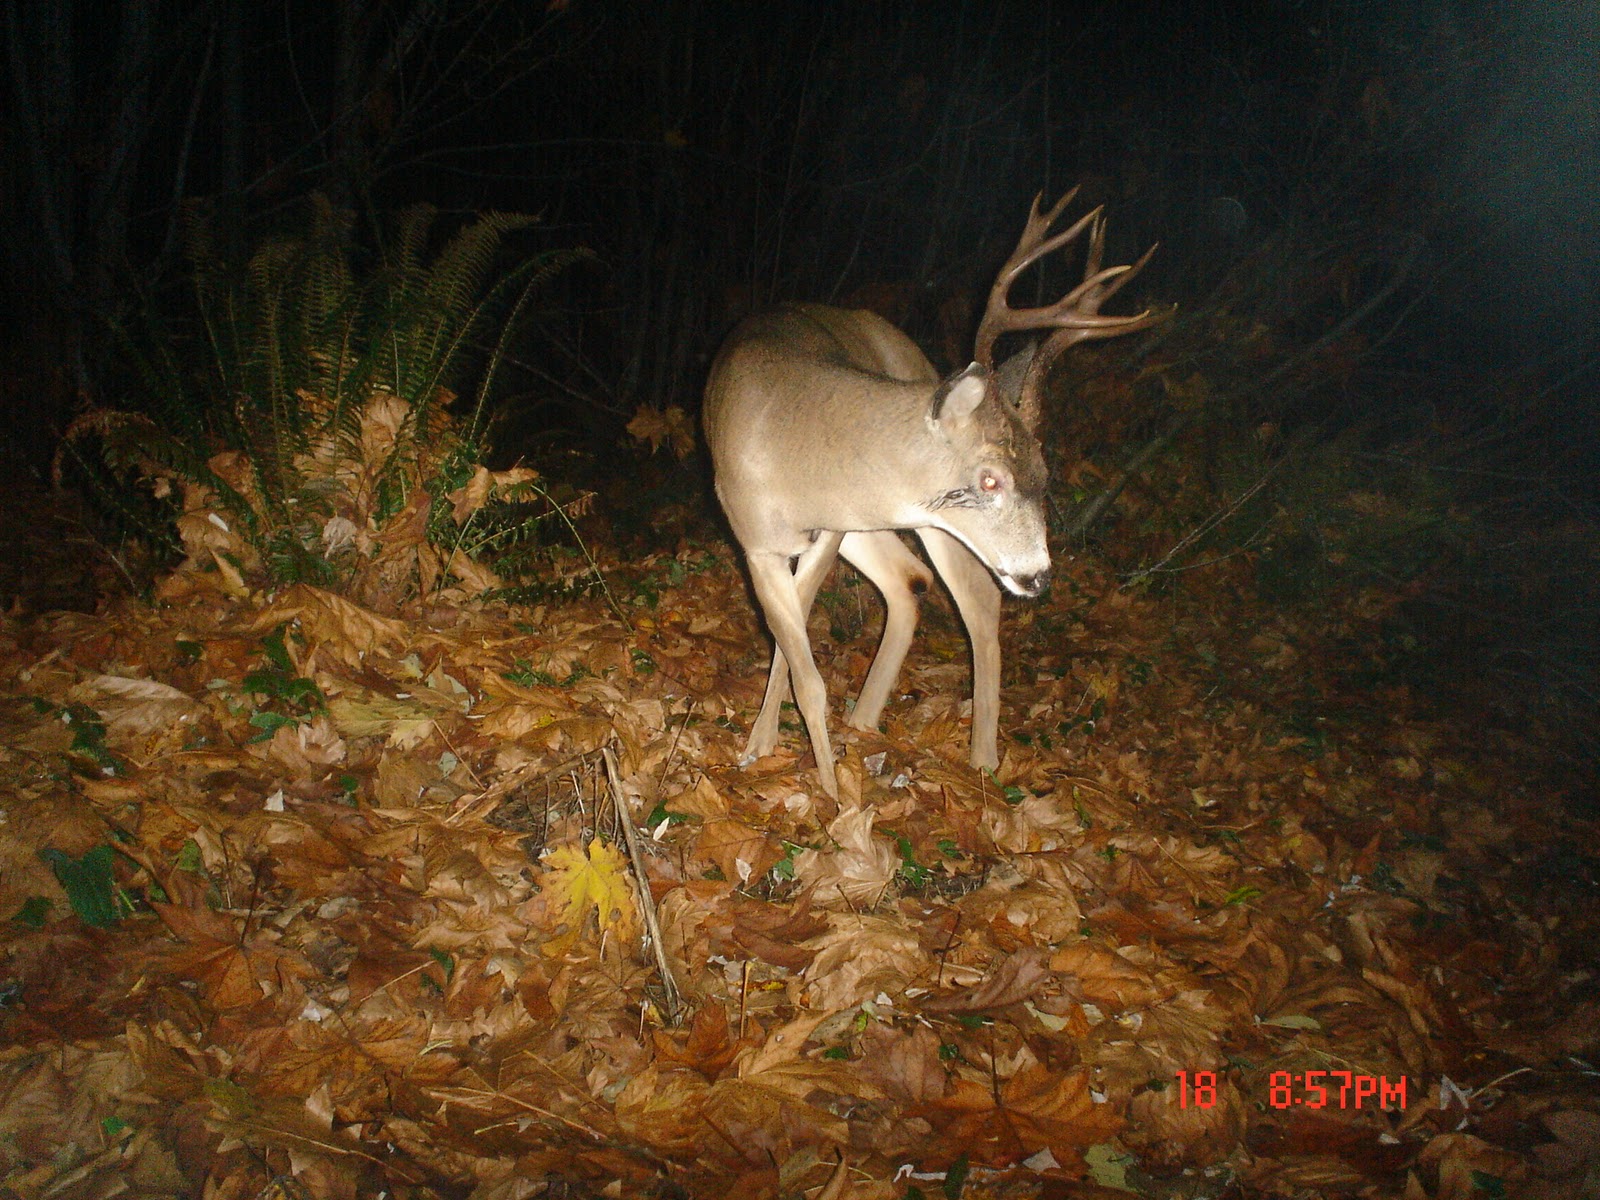
This is a buck I’ve been after for over two years now but he always gives me the slip. I have one shed from ’06, his match set from ’07, but have yet to find either of his ’08 or ’09 sheds. His match set was found within 50 yards of this location.
|
 |
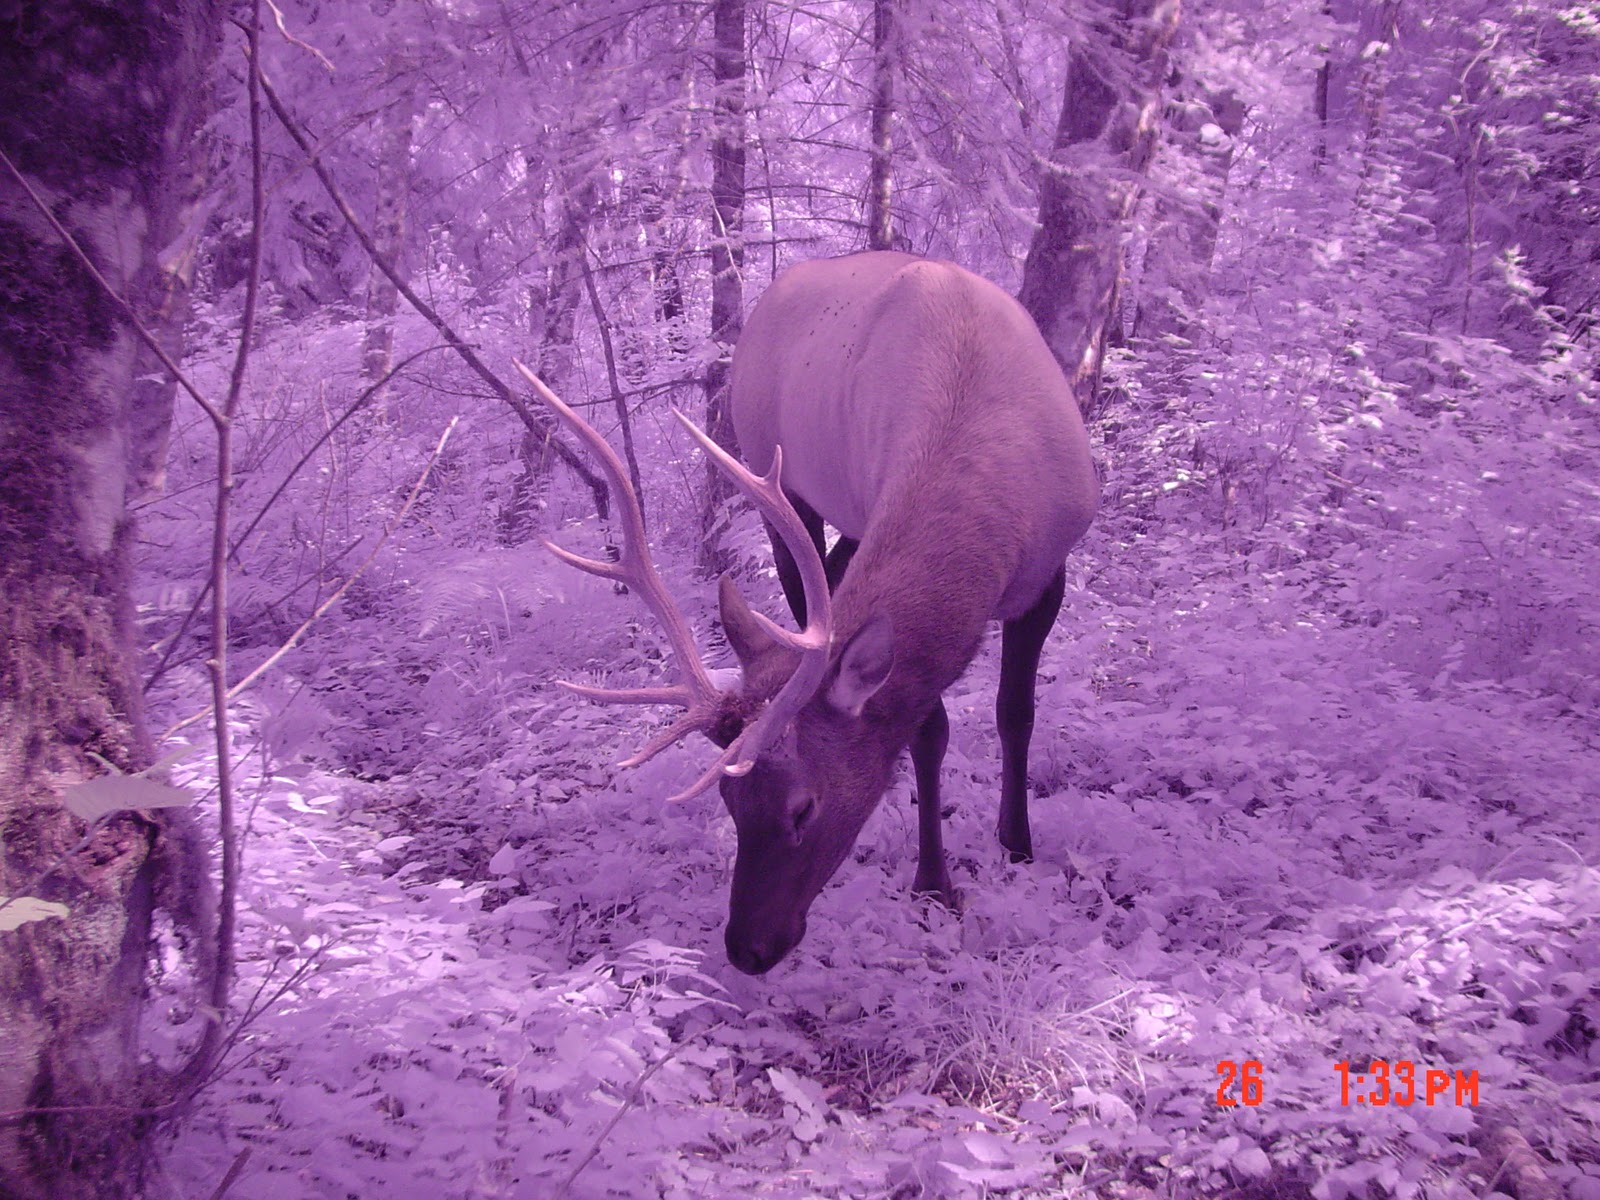
| The coloration of IR photos is really neat sometimes. This phots was taken in bright August sunlight. |
 |
| This buck toted this stick around for days. It didn’t seem to bother him at all. |
 |
| Here’s the same 4×5 from above, just after taking a tine to the right eye during the 2008 rut. |
 |
|
I set this IR cam up on the trunk of an apple tree on an abandoned farm I had permission to hunt. I really enjoyed finding dozens of photos of this porcupine sharing in the feast with multiple deer.
|
 |
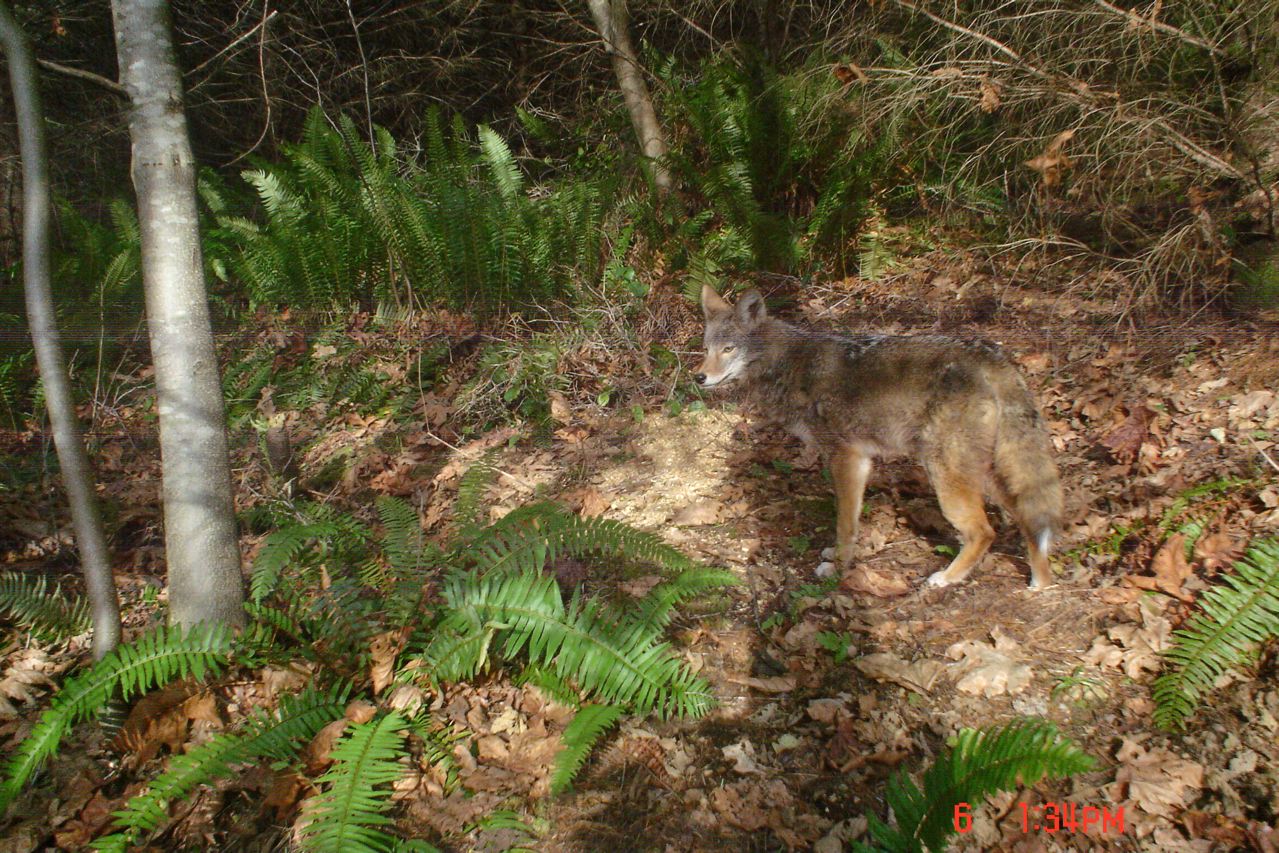
| I’ve found coyotes to be a treat when setting up in thick cover. They rarely provide good photos but this one did. |
 |
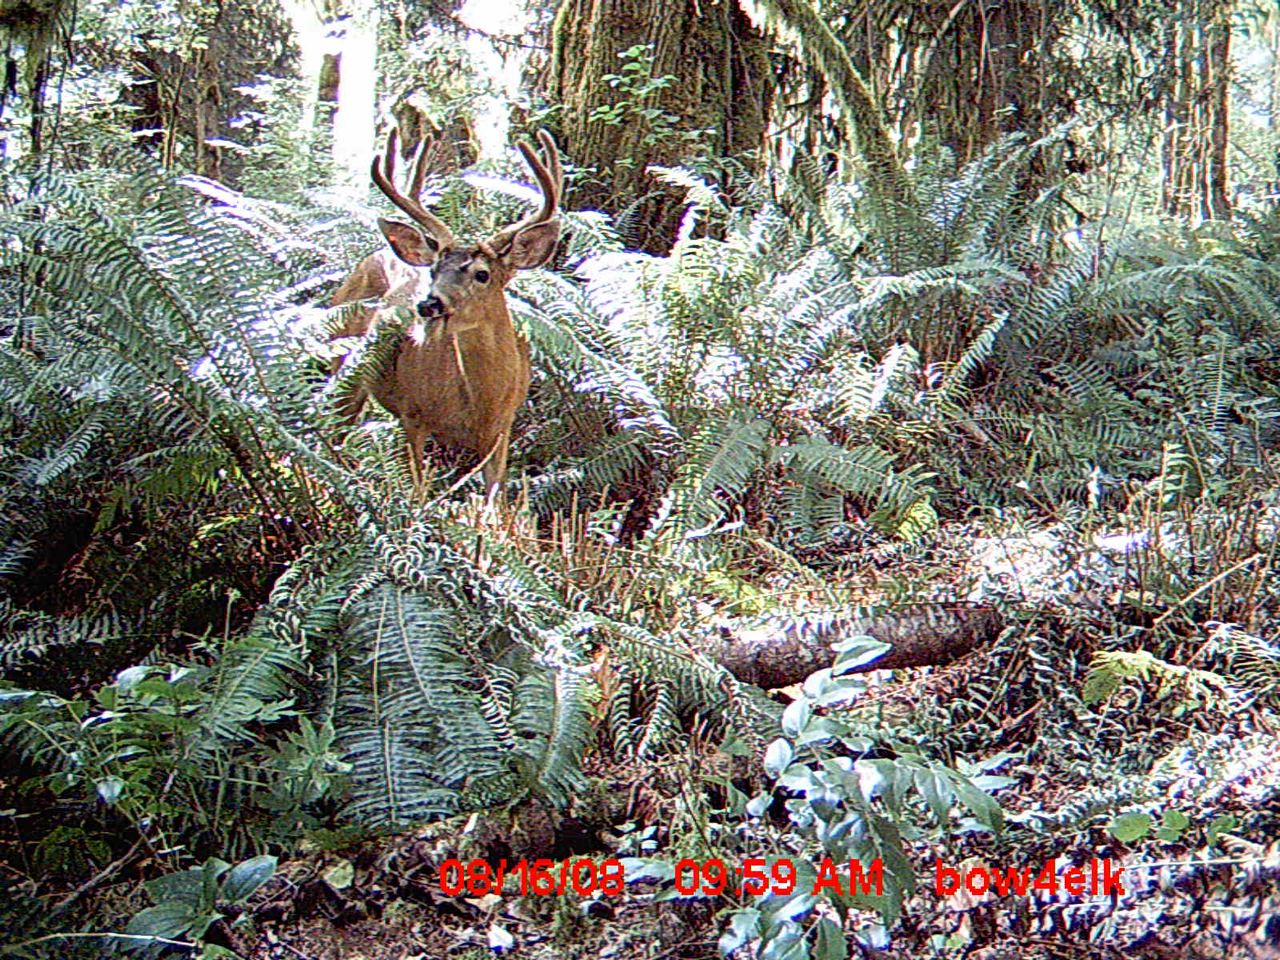
| This is my 2009 buck in the summer of 2008. He was a solid typical 3×3 but I opted to let him walk that year. |
© Tom Ryle 2010


.JPG)